Summary.
The URP Water Package distributed by the Unity3D Lab is more easily understood as a document and arranged to be transplanted and applied directly in your projects.
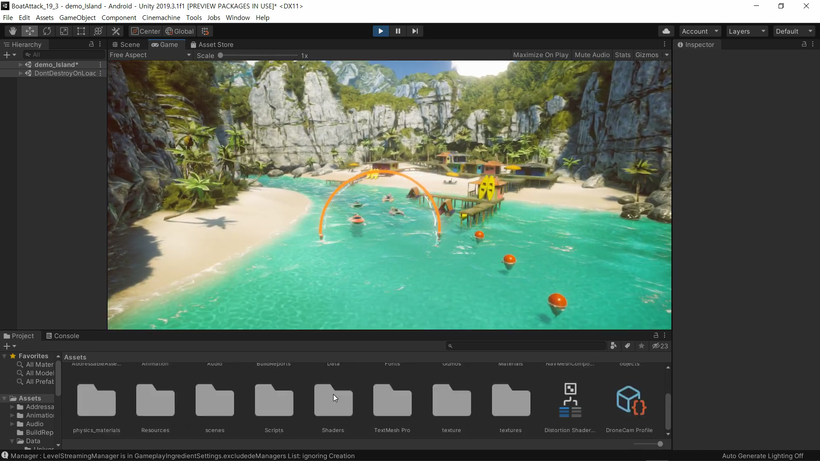
The Unity version uses 2019.3.7. The sea implementation system has four major parts.
- A sea mesh that is quantized and moves along the camera.
- Sea surface with URP reflection treatment.
- Gerstner Wave concept.
- Be careful when integrating Packages into other projects.
Analysis.
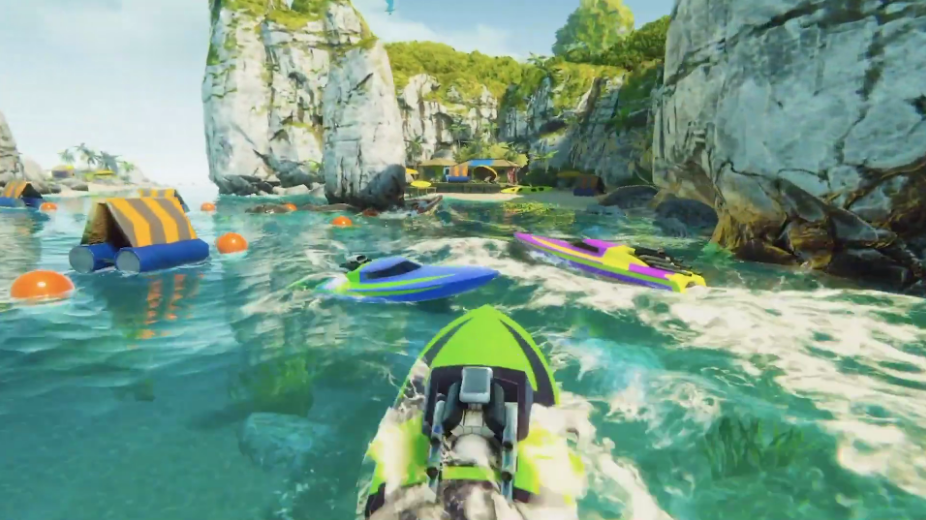
Sea surface.

Waves, reflections, refractions, scattering.
Install.
There are two ways.
The simplest way is to use the package manager.
You can open your URP project and install the Boat Attack Water System using the package manager.

I personally prefer the second method.
If the package manager has already been downloaded, it is recommended to copy it to the Custom Package directory and use it.
This is because each project may need to be modified a little.
Here is a description of the second method.
Download the Package.
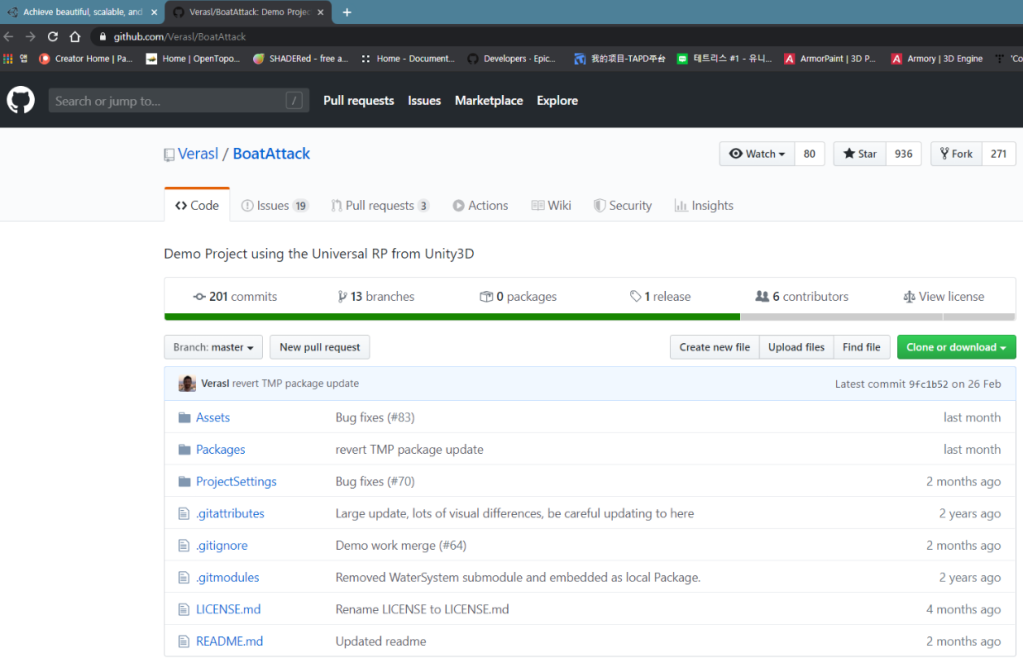
You don’t have to use Git Clone.
Download the compressed file.

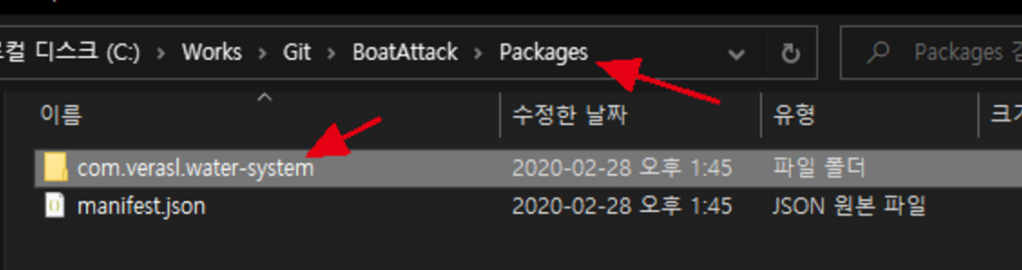
Open the compressed file and copy the com.verasl.water-system the folder in the Package folder to the Packages folder in the URP project folder you are using.
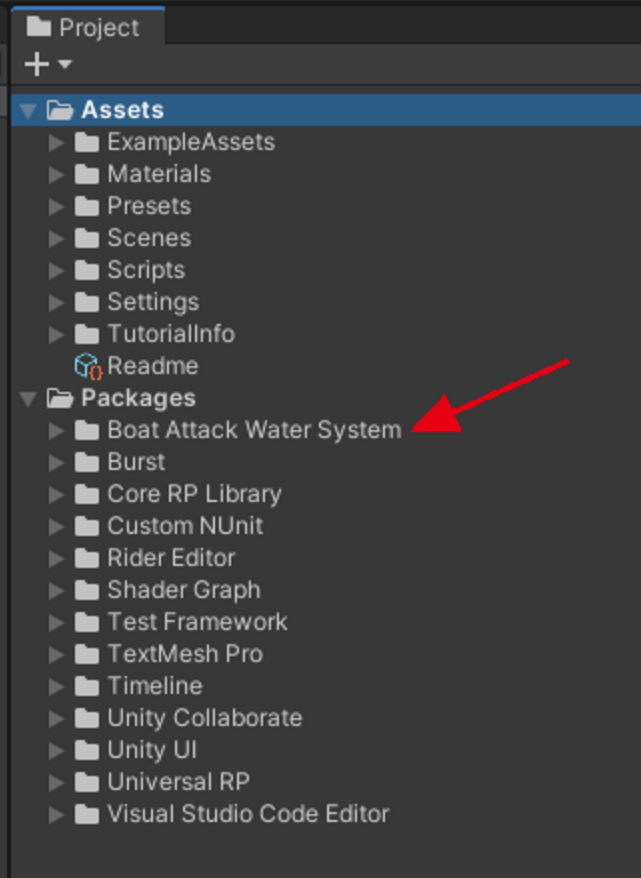
It is well registered in the project’s Packages.
Open the Package Manager again and check if the water system is applied properly.

The copied Water Package requires an additional Mathematics Package.
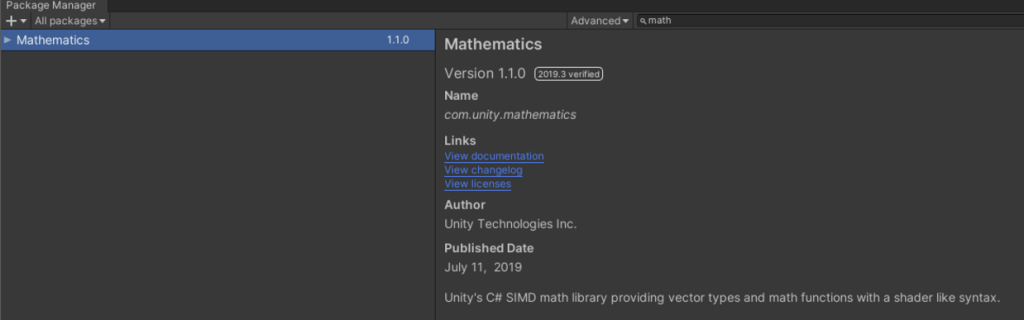
Search and install with Math.

The package was applied perfectly.
Water Surface creation.
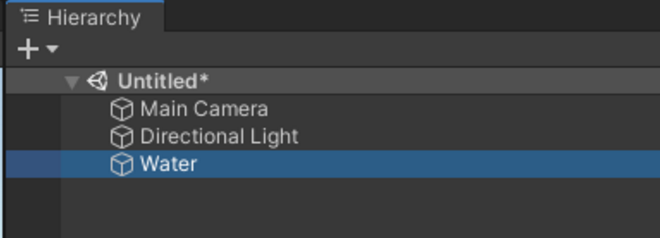
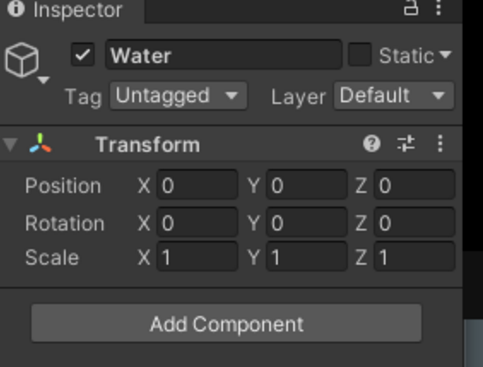
I added one Creat empty in Hierarchy and renamed it Water.
Let’s initialize the Transform of this Water object.
Water Component applied.
Select Water object and add Component.

Apply.
Now let’s use this feature directly in your project.

It was added well.
However, the effect is not visible on the screen when the first component is applied.
Play for the first time. (Ctrl + P)
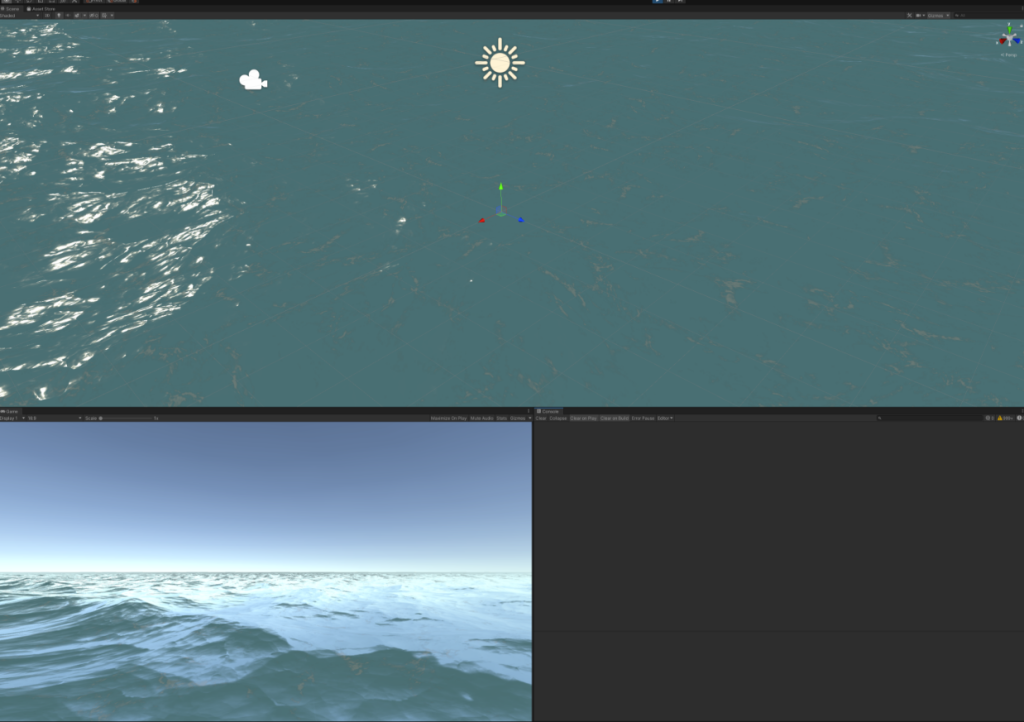
The water system using the default settings was applied well.
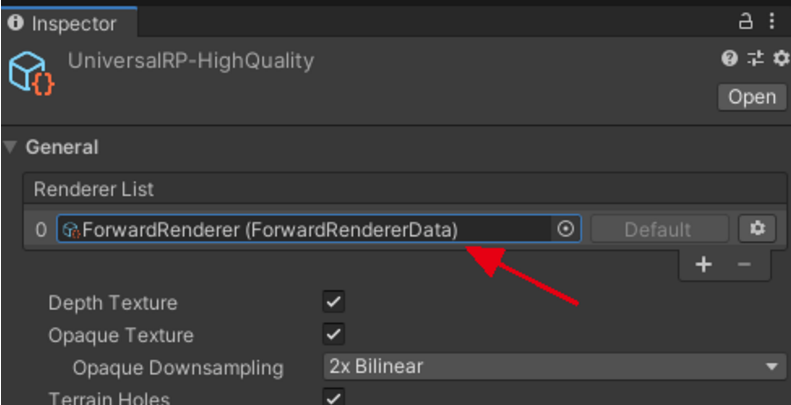
Check the URP setting.


If the Depth Texture and Opaque Texture options are off, turn on both.
This is because URP water system uses both depth target and color target.
When the Opaque Texture setting is turned on, the color at the bottom of the sea is expressed.
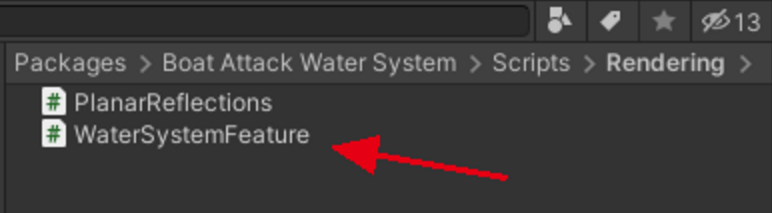
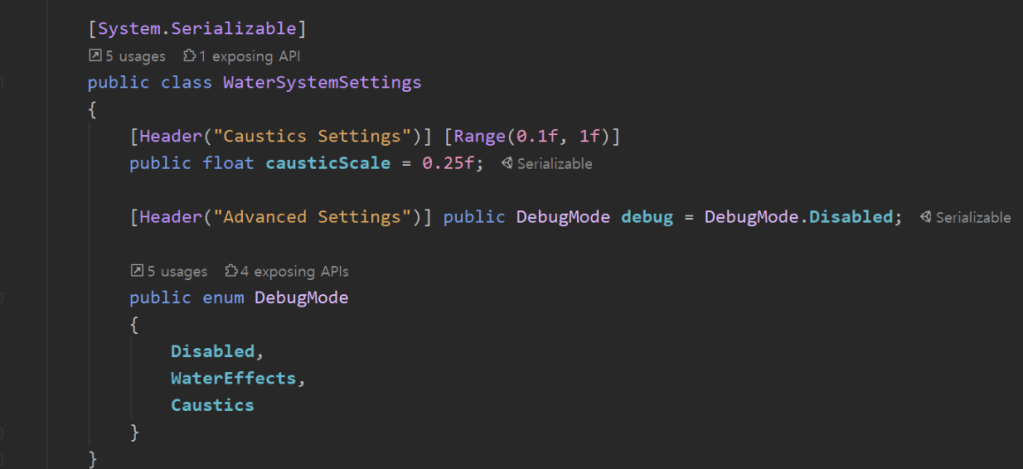
Adding caustics.


NewWaterSystemFeature was added and let’s modify the Caustic Scale using Setting.
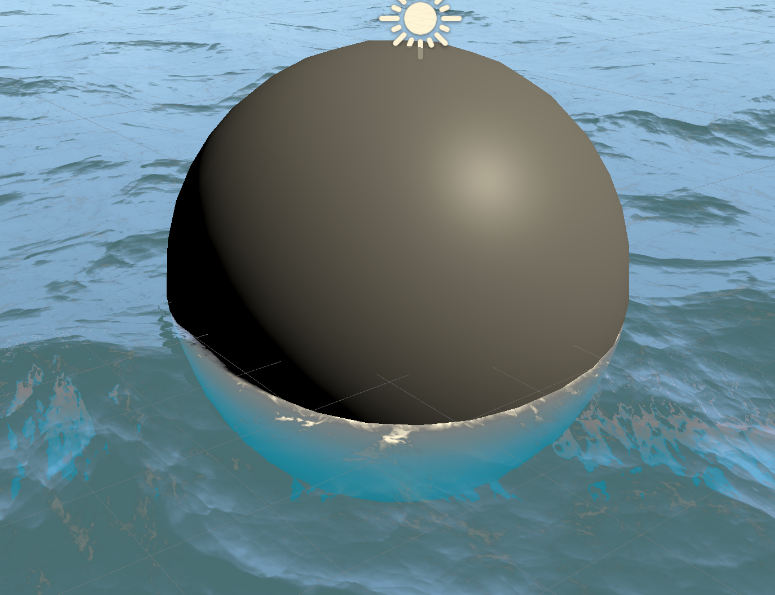
If you change the Debug of Advanced Settings to caustics, only the Caustics effect can be checked on the screen.


Let’s fix this.
Unfortunately, there is no parameter to modify the height of the caustics in the caustics settings.
Now let’s simply add it.
Let’s look at the class at the bottom of the script.

Let’s add a water level member variable as Public.
Let’s add a member variable to WaterCausticPass Class as well.


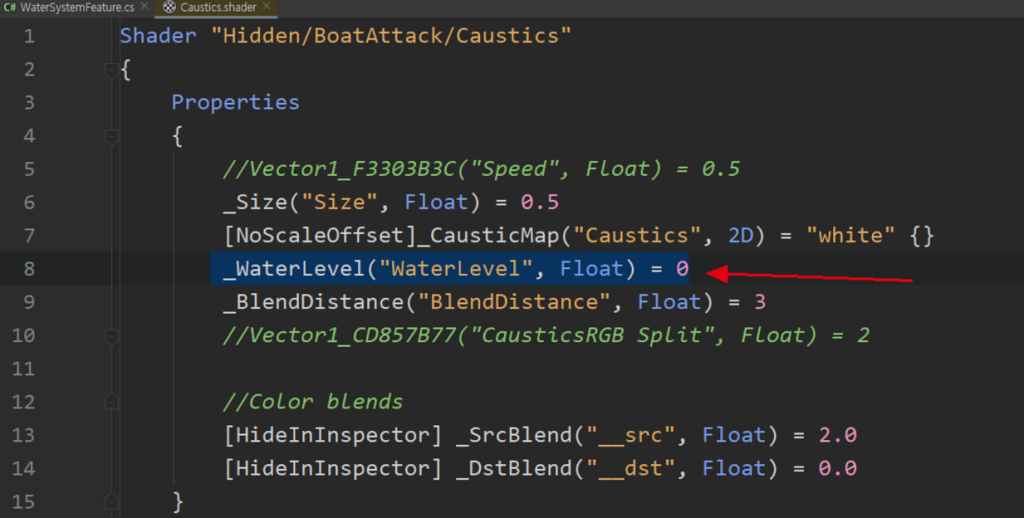
If you open Shader, you can find that _WaterLevel Property is already declared.
Just connect this part.
Let’s connect Shader Property ID to WaterSystemFeature script.

private static readonly int WaterLevel = Shader.PropertyToID(“_WaterLevel”);
Just connect from the top of the Create function.
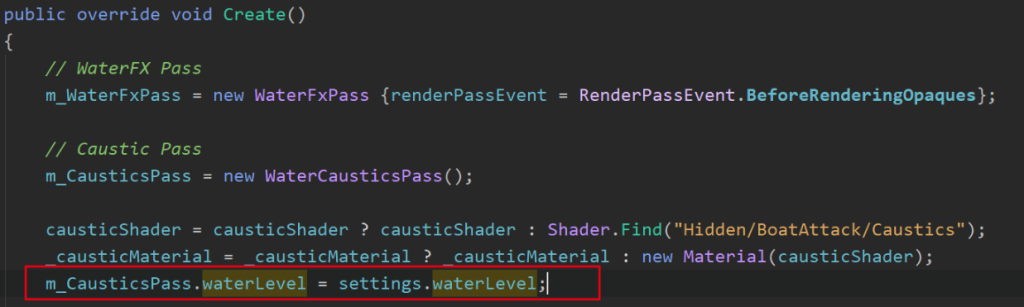
Now, inside of Create (), we assign Setting WaterLevel to CausticsPass.
m_CausticsPass.waterLevel = settings.waterLevel;

And let’s pass this value to the shader.
_causticMaterial.SetFloat(WaterLevel , settings.waterLevel);


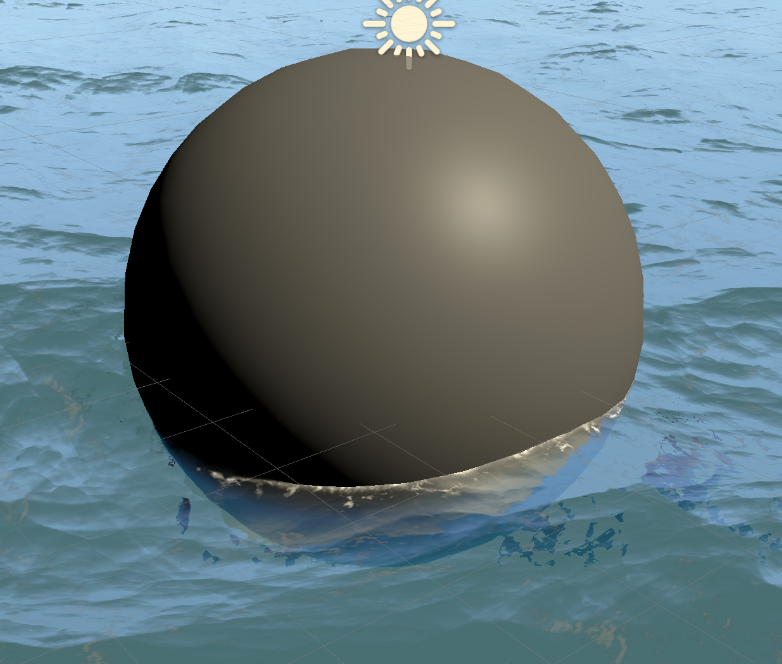
The water level value was modified to lower the caustics effect below the water surface.
This main post already moved into the Patreon.


댓글 남기기