
Please note that using Photoshop for grading isn’t recommended as it
only has very limited capabilities when it comes to 32bit editing.
Before going to work…
Older versions of Photoshop cannot do the following.
If you want to work with the PC version of Lut, you must use the 2018 version of Photoshop.
When using Mobile LUT.
Get a standard LUT file.
important.
You need to work in Linear Color Space Mode in Photoshop.
Be sure to save the worked LUT file as PSD.
Setting method.
The default Gamma value in Photoshop is 2.2 which is sRGB.
You can change this to Gamma 1.0. Let’s see how to set it up.

As above, set the color space representation of the screen to be suitable for game development. This is because Photoshop’s defaults are set to print output settings by default.
Let’s change the color space of the captured image to Gamma to 1.0.
Since the Lut information uses Bypass sRGB in Unity, there is no need to change the Gamma in Photoshop, but since the screen capture information is a monitor screen capture with Linear Rendering, you need to change it back to Gamma 1.0.
Setting the color space of the captured game screen in Photoshop.

Open the file and run Convert to Profile…

Change Profile to CustomRGB.
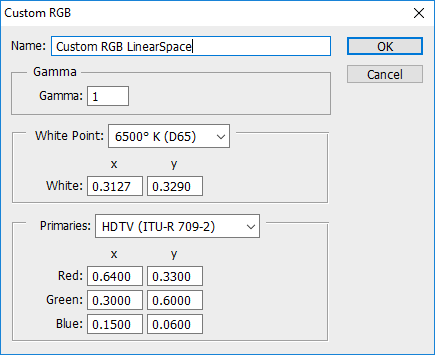
Change the Custom RGB name on your own and change the Gamma value from 2.2 to 1.

If the Color Proof value is set to Monitor RGB, it will look like there is a problem with the Gamma value as above.

When using Color Proof, the captured image can be changed to Document Profile and viewed.

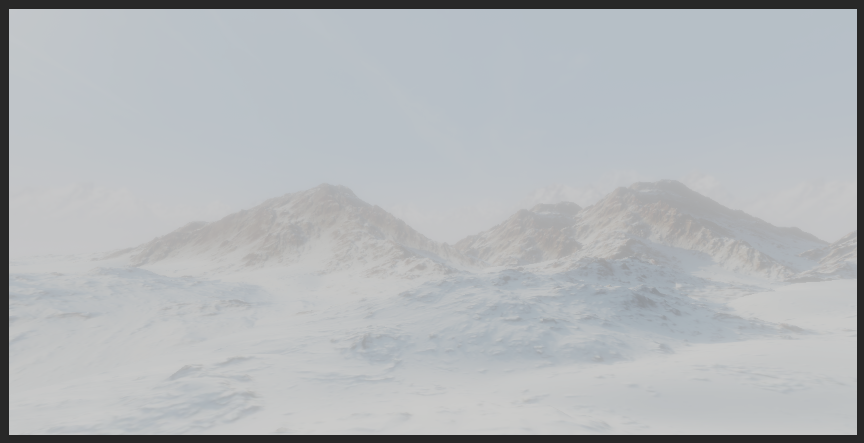
It is showing correctly. (Color space simulation – actually Gamma 1.0 )

Let’s arrange and color correct in Photoshop as shown in the picture.

For the Lut texture, use Proof Colors and Monitor RGB as above.
Let’s apply Color Correction.


When using the EXTERNAL LUT for PC effects.
Step 1
Output the current screen to work (not screen capture) as a log type EXR file. ( This support from HDRP or SRP not URP )

Since we are working on an HDR project, when using LDR Color Grading, if a specific brightness or color contrast exceeds the LDR color bandwidth, Unity3D’s Low definition Profile does not internally correct it to an accurate value (due to optimization issues).
In other words, the screen capture should be saved as EXR and the log information should also be saved.
Step 2
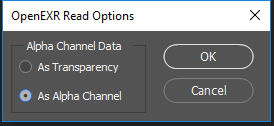
Open the EXR file you just outputted in Photoshop.
There is something to be careful about when opening an EXR file in Photoshop, but there must be a background layer in the layer.

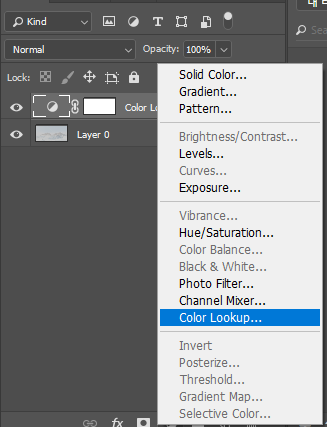
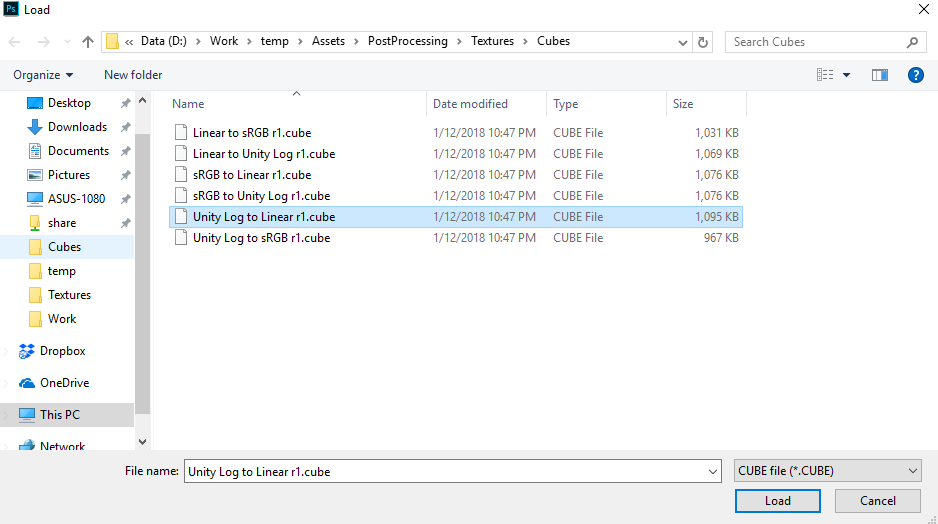
Step 3
Add a Color Lookup layer and import the Unity Log to Linear r1.cube file of the Unity3D project as a 3DLUT File. This can be found in the /PostProcessing/Textures/Cubes/ path.


Step 4
Now we are ready to work on color grading.

Now, the preparation work for color grading work is completed.


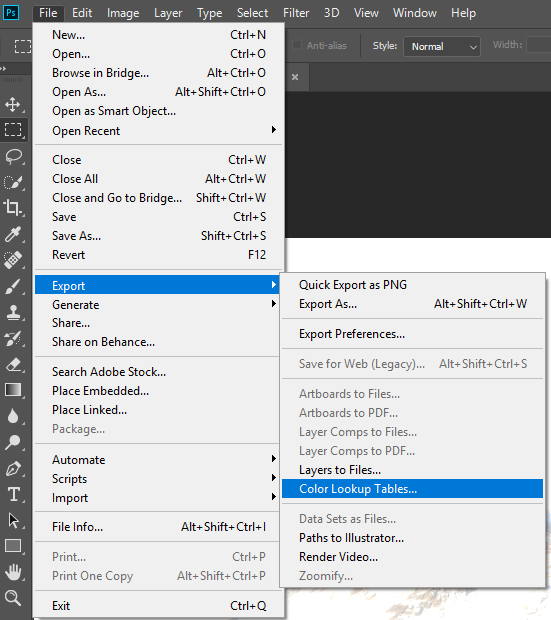
Step 5
Saving of 3DLut files.

Step 6
Now come back to Unity and apply the created CUBE file and you’re done.

Note: The External option is not available on mobile. Compute shader and 3D RenderTexture are required, but they do not come out even in the latest mobile phones, and if the related code is modified in the code, it is rendered and comes out on the mobile phone, but the final render buffer has problems.

댓글 남기기